
Create a purchase order and send it to a vendor
Start a PO from a project, job, or the shop, add the items, and send it to the supplier.
Who can do this: Owner, Admin, Office. Needs: Purchasing / POs turned on in Settings → Features.
Last updated
A PO tells the supplier exactly what you're buying and tells you what you've committed to spend. Committed money shows in job costing.
Steps
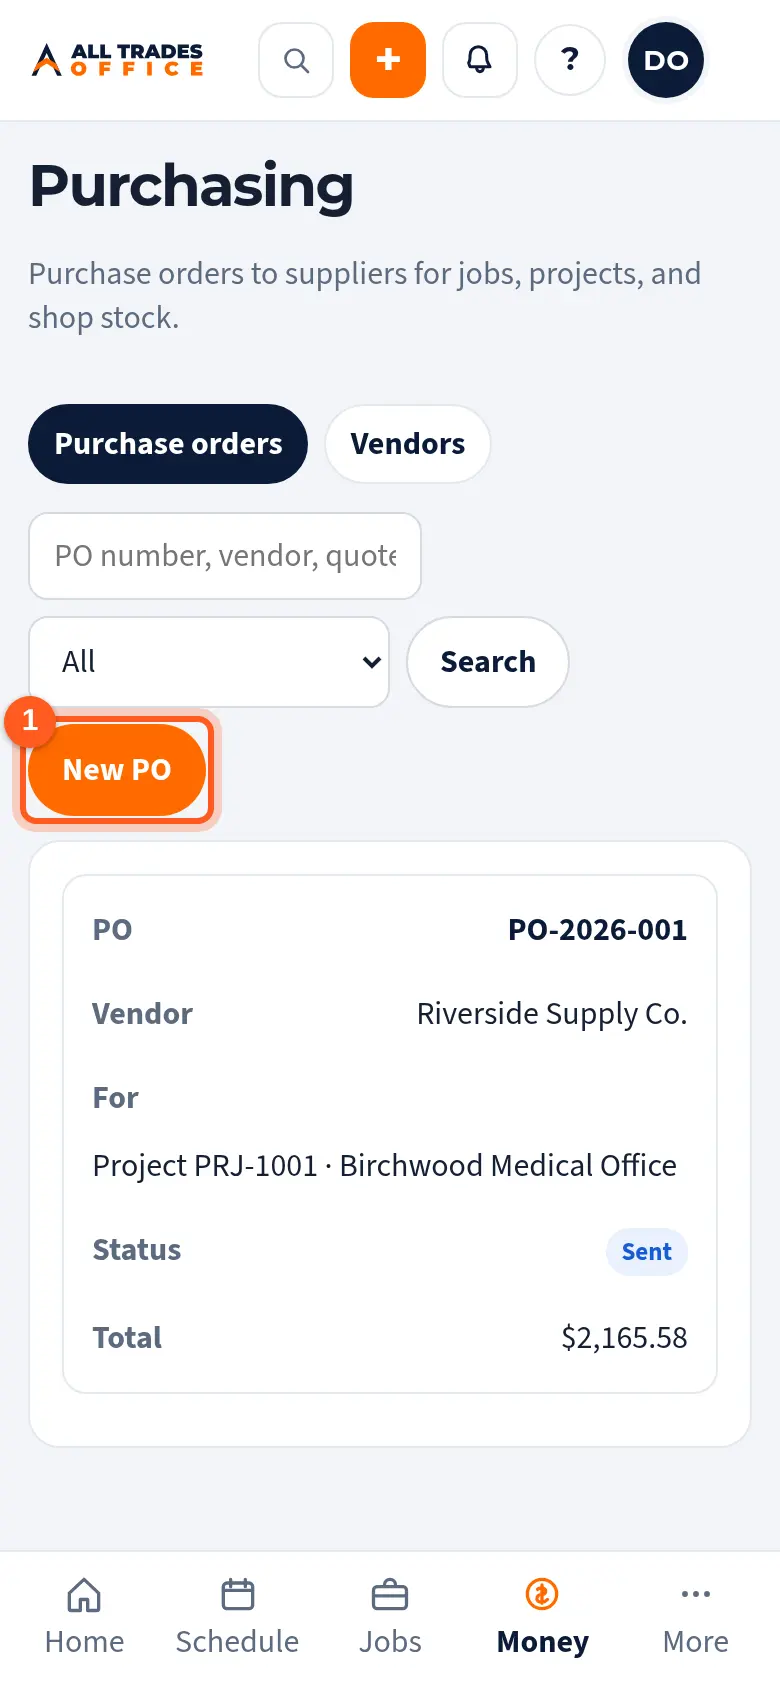
Open Purchasing and tap New PO. To link the PO to work, start it with Create PO on the project or job instead.
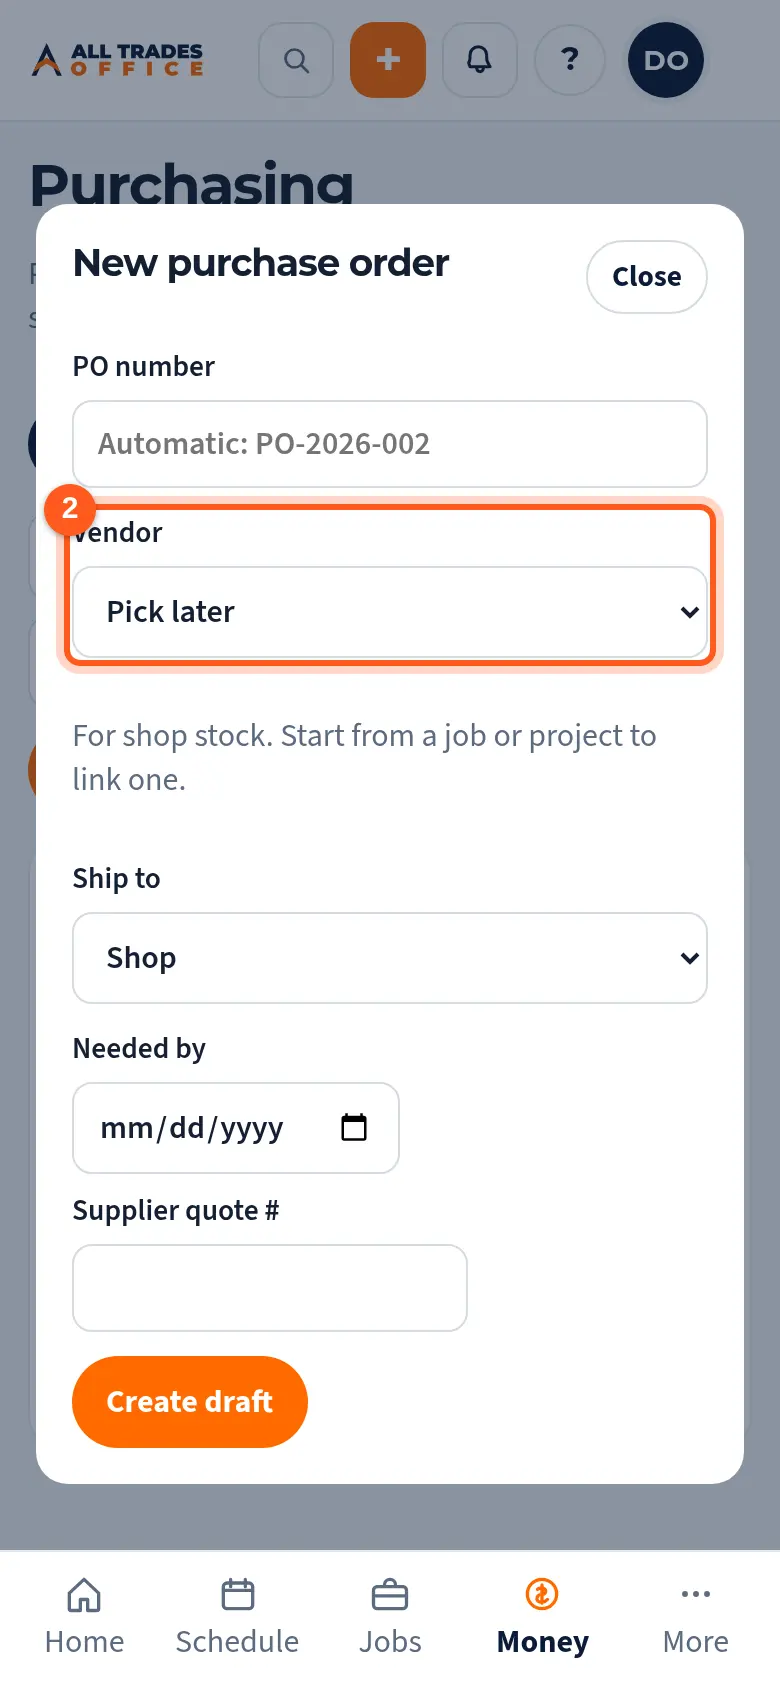
The PO number fills in for you. Pick the vendor, where to ship, and the date you need it, then tap Create draft.
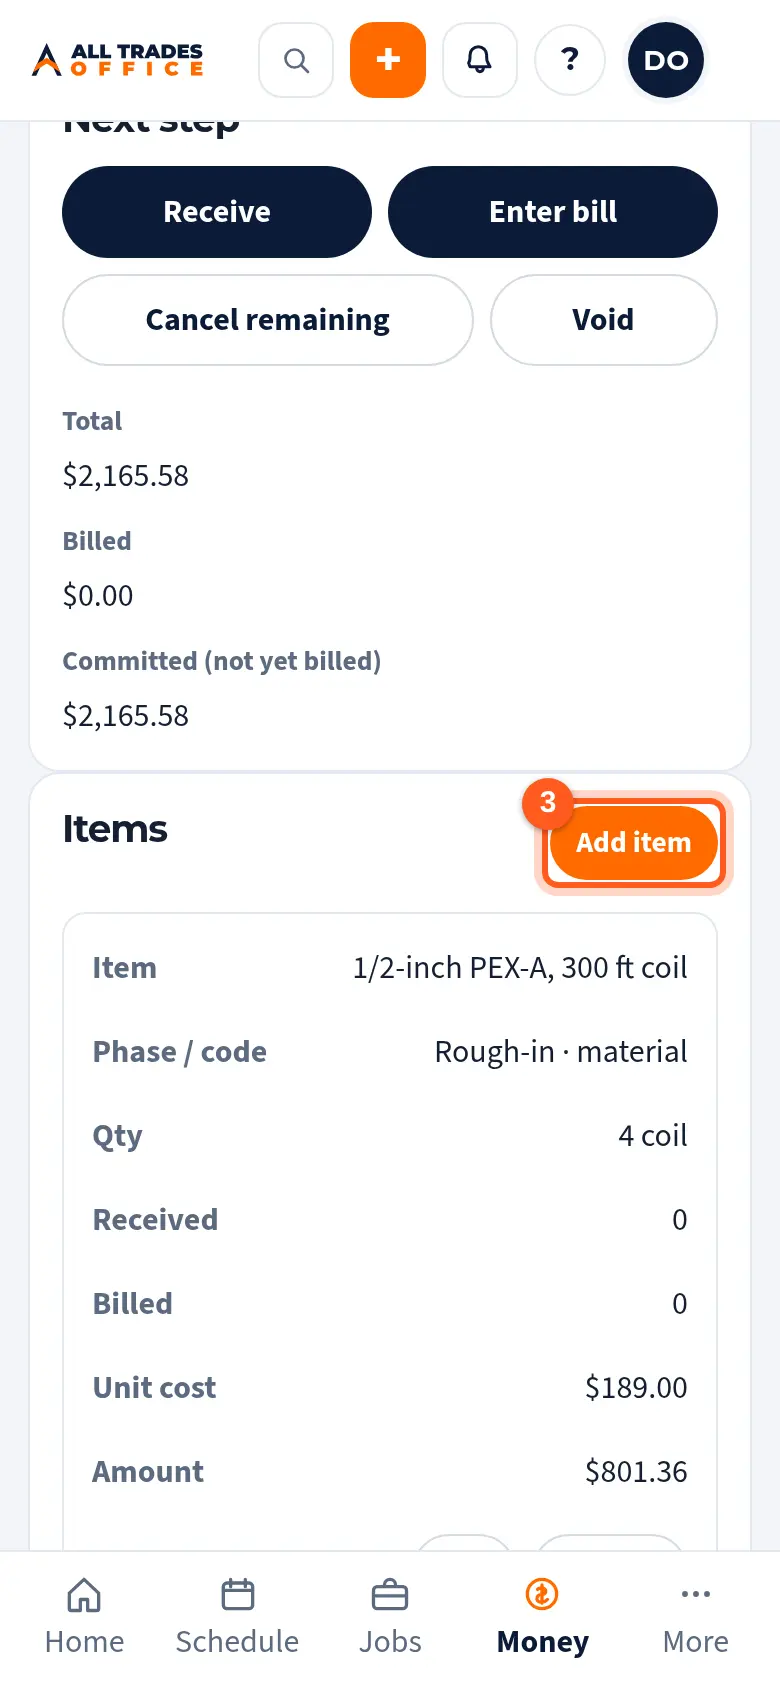
Under Items, tap Add item for each thing you're ordering, with the quantity, unit, and cost.
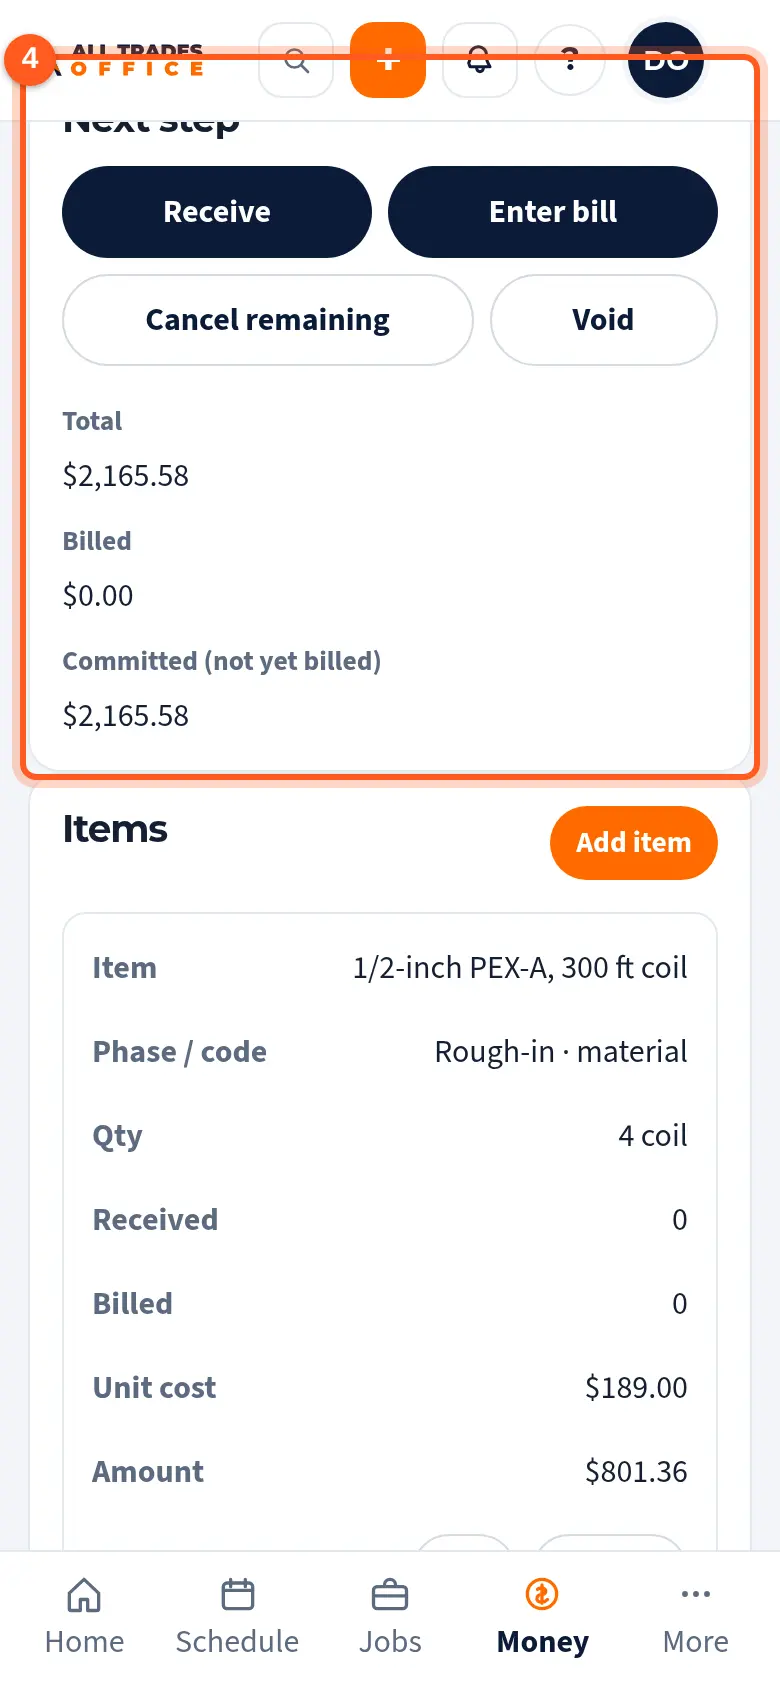
Under Next step, tap Email to supplier, or Mark sent (phoned / counter) if you ordered by phone or at the counter. Some POs need an owner's approval first. Tap Ask for approval when you see it.
Good to know
- Tap Attach supplier quote to keep the quote with the PO.
- Tap PDF for a printable copy.
- People who can't see costs can build a PO. Someone with cost access prices and sends it.
Related
- Receive materials against a POCheck in what showed up so you know what's still coming.
- Enter a vendor bill and match it to a POEnter the supplier's invoice against the PO and catch price or quantity differences.
- PO numbering settingsChoose how PO numbers look, when they start over, and your shop delivery address.